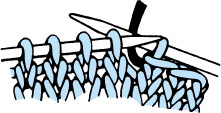
Casting On
There are many ways to cast on. If you are a beginner, try this easy method. Use only one needle. First, measure a length of yarn that will give you about 1" for each stitch to be cast on. First make a slip knot on the needle; make a yarn loop, leaving about 4" of yarn at the free end; insert the needle into the loop and draw up the yarn from the free end to make a loop on the needle.
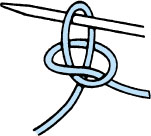
Pull the yarn ends firmly, but not too tightly to form the slip knot on the needle. This slip knot counts as your first stitch.
Now begin the casting on:
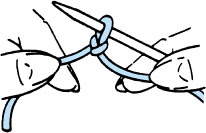
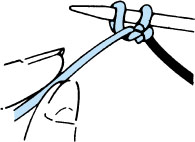
Step One: Hold the needle with the slip
knot in your right hand and with yarn from the skein to your left. With your left hand, make a yarn loop.
Insert the needle into the loop.
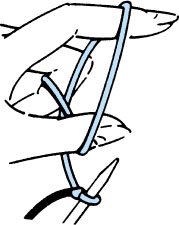
Step Two: Still holding the loop in your left hand, with your right hand, pick up the yarn from the skein and bring it back to front around the needle.
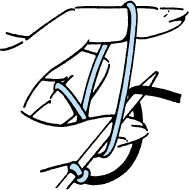
Step Three:Bring the needle through the loop and toward you; at the same time, pull gently on the yarn end to tighten the loop. Make it snug but not tight below the needle.
You have now cast on one stitch. Repeat Steps 1 through 3 for each additional stitch required.
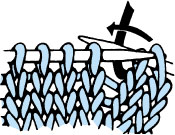
Knit Stitch
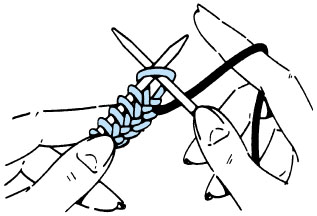
Step One:
Hold the needle with the cast-on stitches in your left hand. Insert the point of the right needle into the first stitch, from right to left.
Step Two:
With right index finger, bring the yarn under and over the point of the right needle.

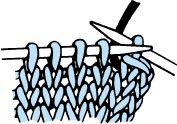
Step Three: With right needle, pull the yarn back through the stitch.
Step Four: Slip the loop on the left needle off, so the new stitch is entirely on the right needle.
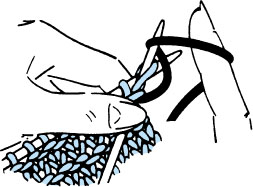
Purl Stitch
The purl stitch is actually the reverse of the knit stitch. Instead of inserting the right needle point from left to right under the left needle (as you did for the knit stitch), you now insert it from right to left, in front of the left needle.
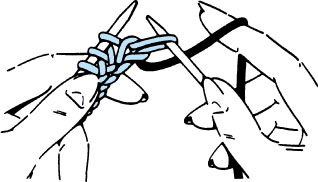
Step One: Insert the right needle from right to left, into the first stitch and in front of the left needle.
Step Two: Holding the yarn in front of the work (side toward you), bring it around the right needle counterclockwise.
Step Three: With right needle, pull the yarn back through the stitch.
Step Four: Slide the stitch off the left needle, leaving the new stitch on the right needle.
You have now made one complete purl stitch.
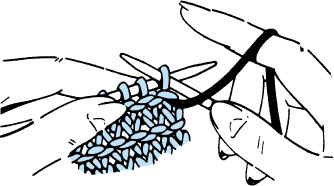
Binding Off
When a piece is finished, you need to get it off the needles. This is called binding off, and here is how to do it.
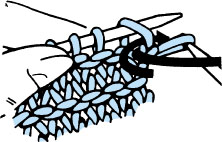
To bind off on the knit side:
Step One: Knit the first 2 stitches. Now insert the leftneedle into the first of the 2 stitches.
Draw the first stitch up and over the second stitch and completely off the needle. You have now bound off one stitch.
Step Two: Knit one more stitch; insert left needle into the first stitch on the rightneedle and draw it up and over the new stitch and completely off the needle.Another stitch is now bound off.
 Repeat Step Two until all the stitches are bound off and one loop remains on the right-hand needle. Now to “finish off” or “end off” the yarn, cut it and draw end through the last loop to tighten.
To bind off on the purl side:
Step One: Purl the first 2 stitches. Now insert the left needle into the first stitch on the right needle, and draw it up and over the second stitch and completely off the needle. You have now bound off one stitch.
Step Two: Purl one more stitch; insert the left needle into the first stitch on the right needle and draw it over the new stitch and completely off the needle. Another stitch is bound off.
Repeat Step Two until all stitches are bound off; then finish off.